How to create a Tunnel to Local Machine with ngrok
When developing applications sometimes you need to access your current application using external sources. For example you want to test an application using a mobile device or how your application responds to a webhook. You could deploy your application on the publicly accessible server, but it will make development slow, having to deploy on each change.
The solution would be to create a tunnel to a local server on your machine. This way you could test your application on the mobile devices, show it to the clients, test webhooks. All of this can be achieved with ngrok.
You can jump to any of the sections:
- Sample application
- Installing ngrok
- Creating local HTTP tunnel
- Creating local TCP tunnel
- Configuring ngrok
- Conclusions
Sample application
You can create a tunnel for any web server.
For this article the simple Express.js application will be used. It has two routes for receiving GET and POST requests. You can find the code on GitHub
'use strict';

const express = require('express');
const bodyParser = require('body-parser');
const app = express();

app.use(bodyParser.urlencoded({extended: false}));

app.get('/', function (request, response) {
    response.send('Hello');
});

app.post('/', function (request, response) {
    response.send(request.body);
});

app.listen(3000);

console.log('Open: http://127.0.0.1:3000');
To launch the server execute the following command (Node.js is required):
node server.js
Installing ngrok
ngrok is easy to install and works on all major platforms. Download the archive, unzip it, and run it. If you want to run it from any location move it to a directory which is in your PATH (e.g., /usr/local/bin).
Run ngrok -h to make sure it works and to get the documentation on how to use it.
Creating local HTTP tunnel
To expose the web server simply provide the port number it is running on:
ngrok http 3000

# To use different location provide a region: us, eu, ap, au
# Default region (if none provided) is us
ngrok http -region eu 8080
It will give you the URL to your tunnel and statistics.
If you will make a request to an URL you should get the response (replace the URL with one you got).
curl http://7711dd0d.ngrok.io

curl http://7711dd0d.ngrok.io -d name=Andrew
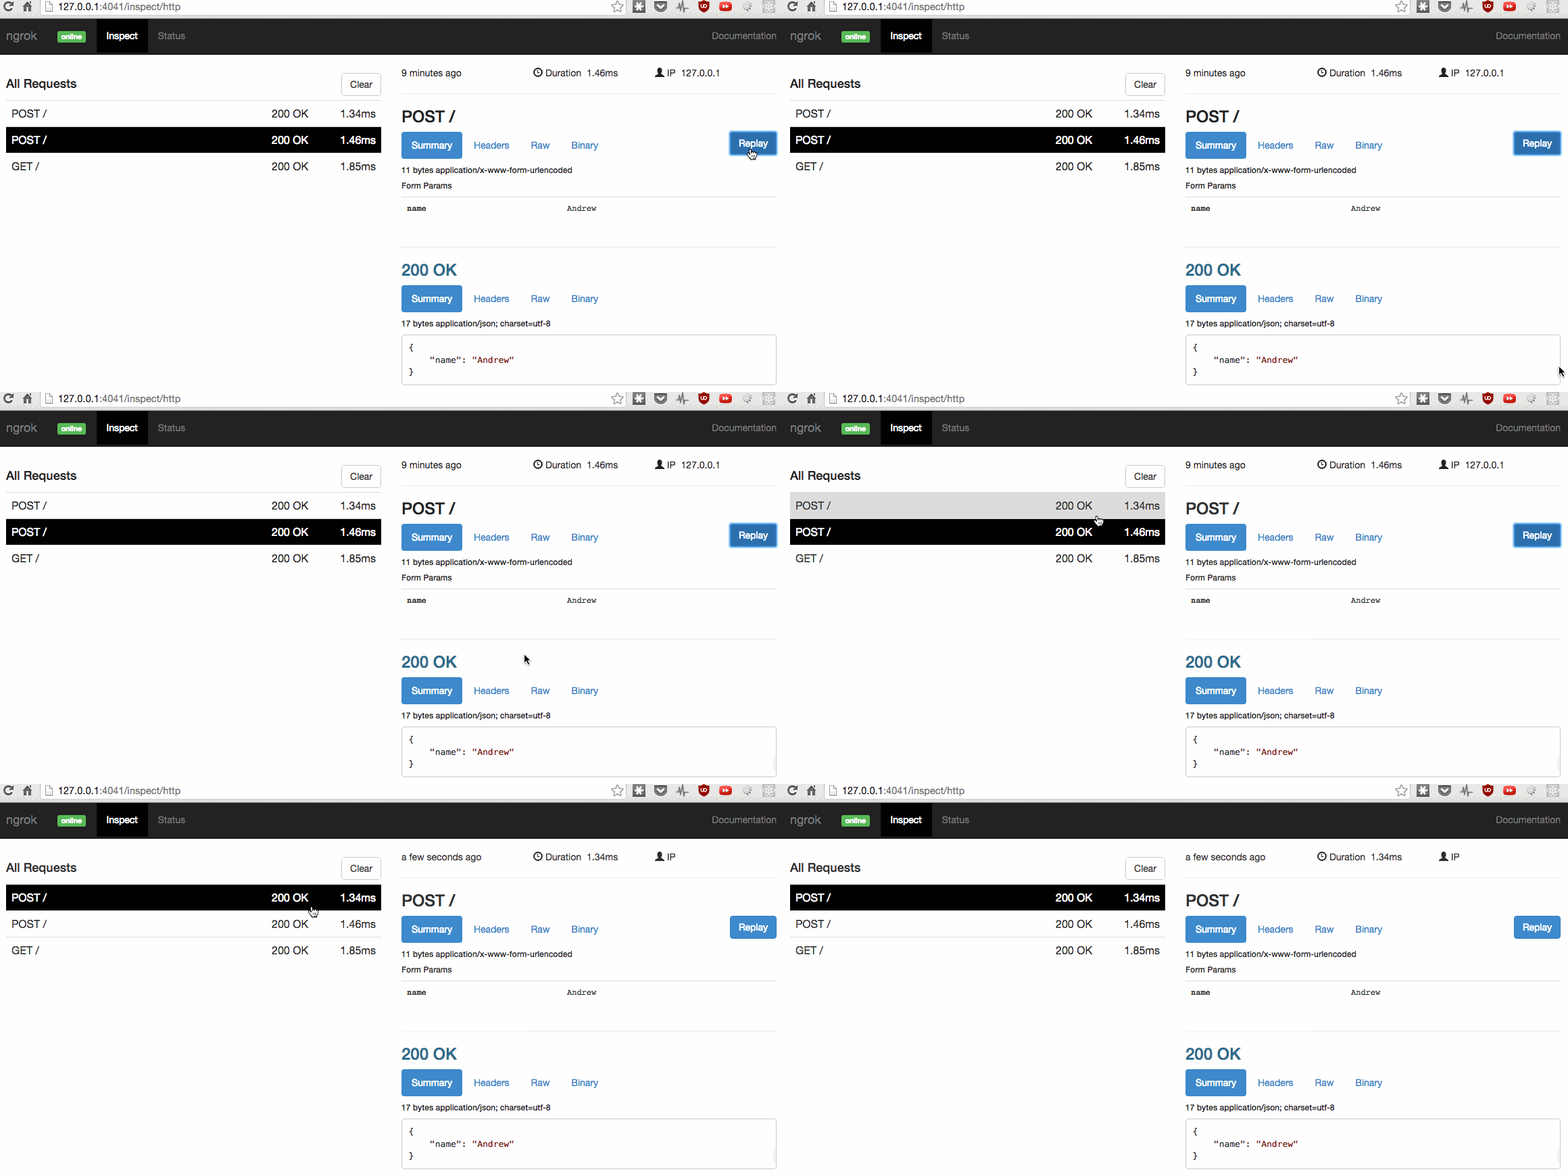
ngrok provides the real-time web UI from which you can inspect the HTTP traffic for the tunnel. Open the URL provided by the created tunnel. From this web interface you can see all the information about requests and responses made.
One great feature which will be very handy when integrating webhooks is an ability to replay requests. This way you don't need to do anything to trigger the webhook; you could just replay the request after making changes.
If you would like to add some basic protection to avoid anyone accessing your web server you can add an HTTP Basic Authentication:
ngrok http -auth="username:password" 3000
Replace the username and password with credentials you want.
If you want to use advanced features of ngrok (like having custom subdomain or running from your domain) you will need an ngrok account and a paid plan.
If you are accessing your application through a domain defined in your hosts file (e.g., 127.0.0.1 your-application.local) you just need to provide host header to the command:
ngrok http -host-header=your-application.local 80
Creating local TCP tunnel
With ngrok you can expose SSH, database or some other service which runs over TCP. For example you could expose the MongoDB database running on your machine:
ngrok tcp 27017
Configuring ngrok
ngrok can be configured using YAML configuration file. If no configuration file is provided the ngrok will try to load one from a default location ($HOME/.ngrok2/ngrok.yml).
By using -config option an explicit configuration file can be provided. It's possible to provide multiple configuration files and they are merged on top of each other. This way you can have global and project settings.
ngrok http -config ~/.ngrok2/ngrok.yml -config project-config.yml 3000
The most common use for configuration file is defining tunnels. Tunnels are defined under the tunnels property in the configuration file:
tunnels:
    app:
        proto: http
        addr: 3000
        bind_tls: false
    app-protected:
        proto: http
        addr: 3000
        auth: "username:password"
    mongo:
        proto: tcp
        addr: 27017
To start the tunnel provide the name of the tunnel:
ngrok start -config ~/.ngrok2/ngrok.yml -config project-config.yml app-protected
To start all the defined tunnels use --all switch:
ngrok start -config ~/.ngrok2/ngrok.yml -config project-config.yml --all
Conclusions
This should be enough to take care of the most use cases you will need. ngrok probably won't be the tool you will be using everyday (depends on what you work on). For those days when you need to test a webhook or from another device you will be great for having ngrok in your toolbox.
Do you have a story of when a local tunnel helped / would have helped to solve your problem?


